Setting up your account
- Outline
- Requirements
- Setting up your NeSI account
- Setting up two-factor authentication
- Troubleshooting
Outline
You will learn how to:
- set up your user account on NeSI platforms
- set up two factor authentication (if you will need to connect from outside NIWA’s network)
- log in to the machine
Requirements
You will need:
- A terminal program to log in with:
- A smartphone with Google Authenticator (recommended) or another app that implements the TOTP (Time-based One Time Password) algorithm installed. Ensure that you use your preferred device as you will need it every time you log in
Setting up your NeSI account
If you are logging in for the first time to the new platforms, you will need to set up your account. First, you will need to log in to the My NeSI site. By logging in, you will populate the NeSI database with certain basic account information (such as your name, institution and email address), which we will use to set up your account.
-
Access the My NeSI site via your browser.
-
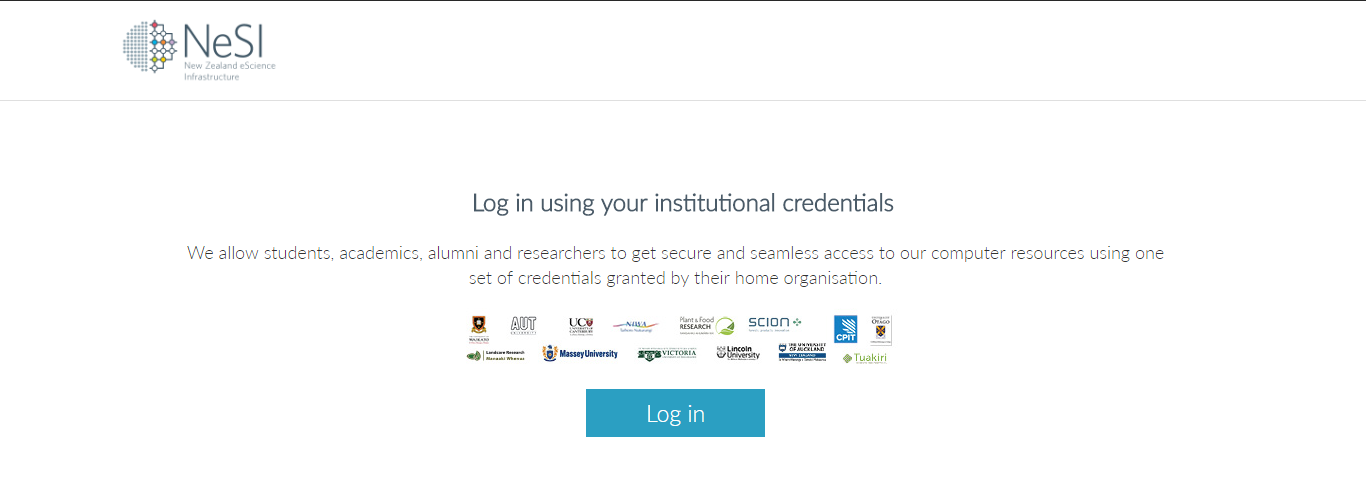
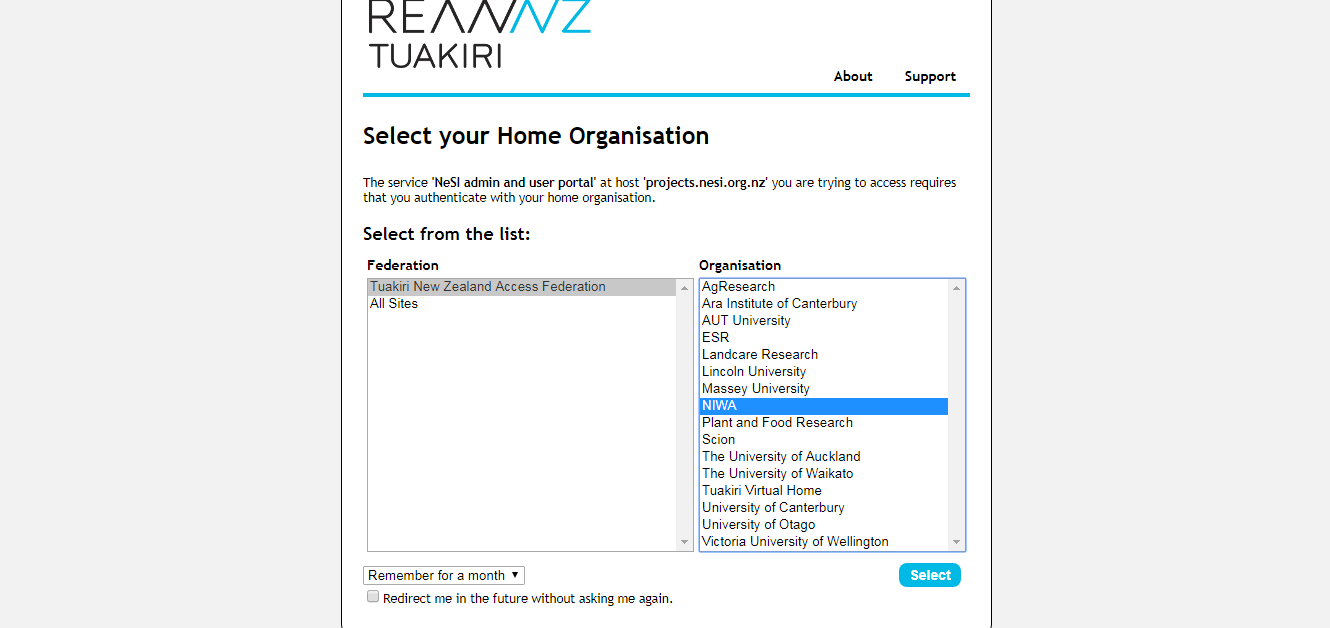
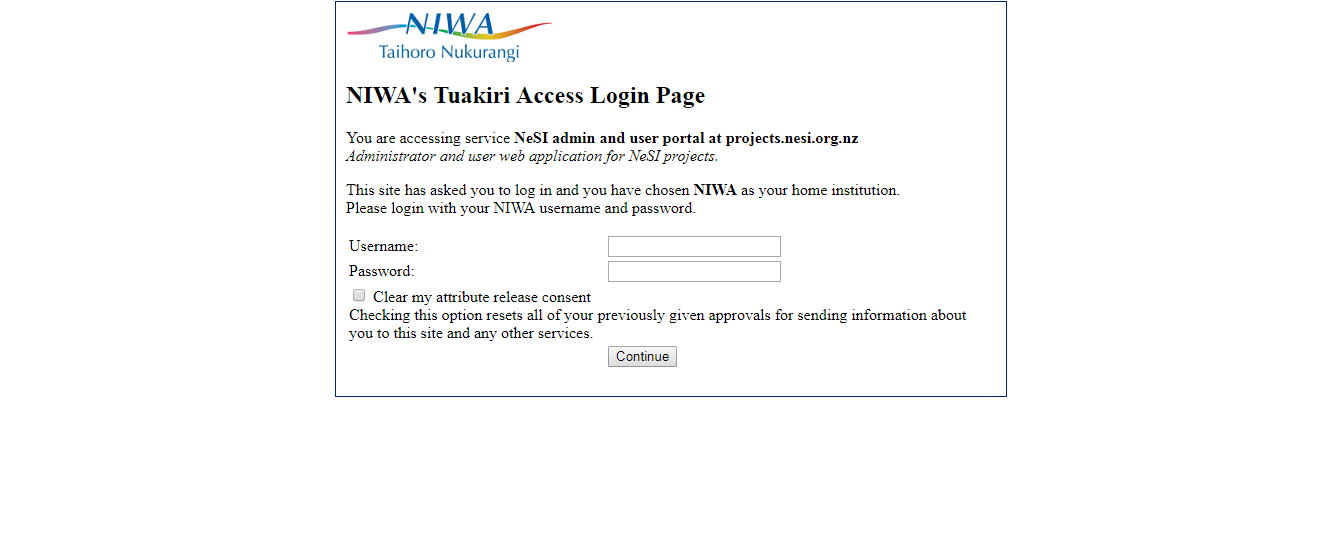
Log in using your institutional credentials via Tuakiri. If your institution is not a member of the Tuakiri federation, you will have to follow the ‘Apply for a NeSI Account’ link (at the bottom of your browser window, below the ‘Log in’ button) to request a Tuakiri Virtual Home account. Once we have approved and created your Tuakiri Virtual Home account, please select the Tuakiri Virtual Home as your Home Organisation. Otherwise, select your own employer or tertiary institution as your Home Organisation. See the example below, which shows the login process using a NIWA staff username and password. Your login screen will in most cases look different.
-
If this is the first time you have logged in to the My NeSI site:
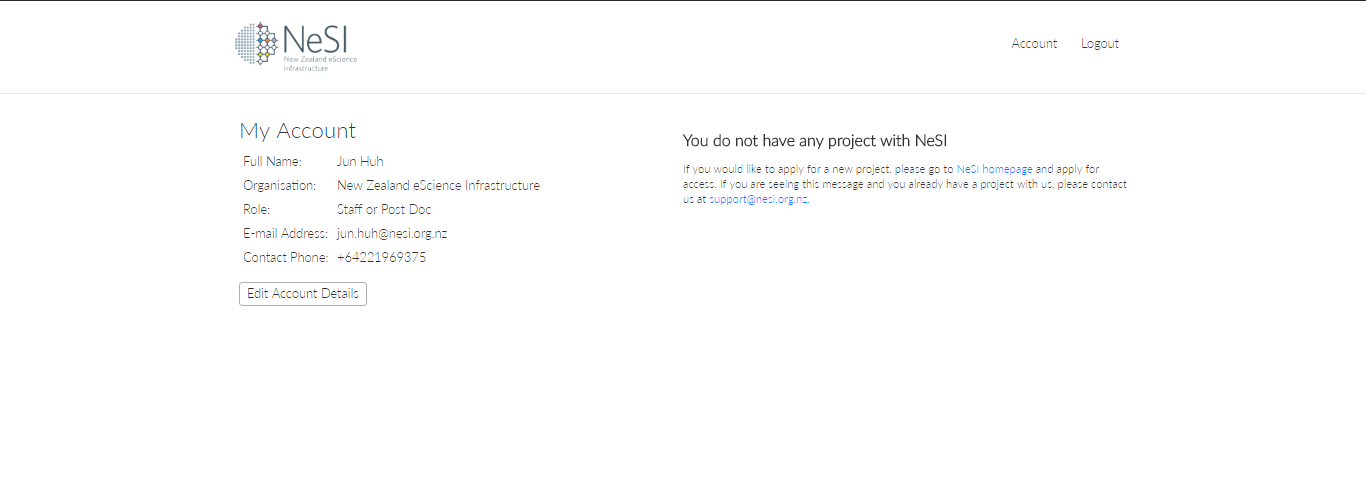
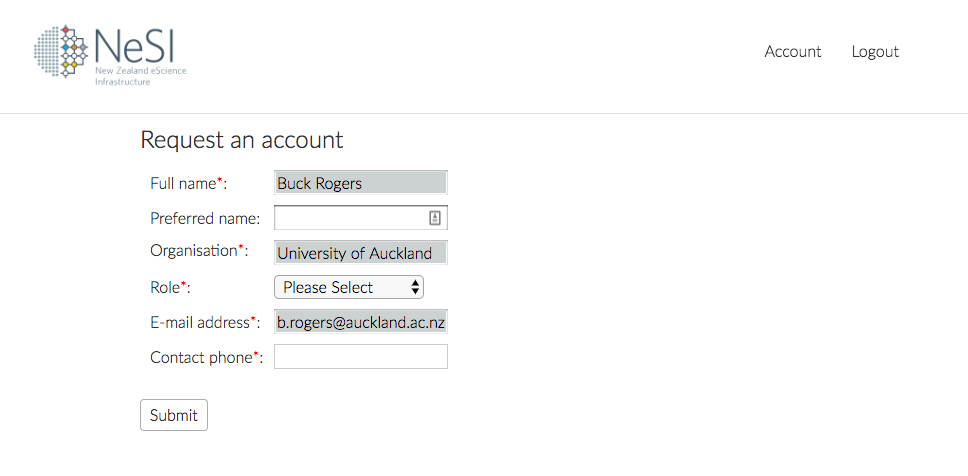
- If you do not have an existing account with NeSI you will be asked to fill out some fields, such as your role at your institution and a contact telephone number, an example of which can be seen below.
- If you have an existing active project that has been migrated over you can continue on to step 6
- If you have an entry in our database (such as an old Pan account) but are not a member of an active project on the platforms, after logging in you will need to email support@nesi.org.nz and and inform us that you would like access to the platforms so that we can prepare you for the next steps.
-
Please wait for us to confirm your account and group membership. This is currently a manual step that we aim to complete for every user within two business days of receiving the request.
-
After receiving confirmation from our support team, log in to the My NeSI site again.
-
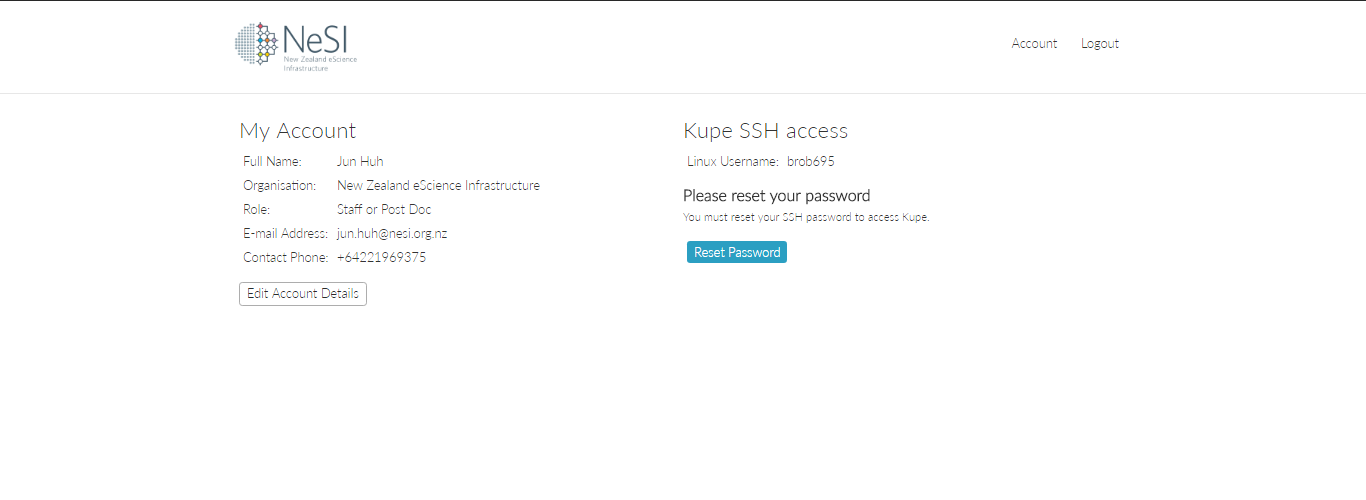
Once you have logged in, you should see a screen similar to the one below. Click the ‘Reset Password’ button to proceed.
If you don’t see the ‘Reset Password’ button, it means your information on our database does not match your Tuakiri identity, your user account has not yet been created, or you are not a member of an active project. In this case, please file a ticket with the subject “Please confirm my NeSI account and add me to a project team” and wait for a member of our support team to confirm your account and group membership.
Note: You must wait at least an hour between password reset requests. If you request a password reset before an hour has gone by since your last valid password reset request, our system will ignore the later request.
-
You will be sent an e-mail from us with a temporary URL. If you do not receive this email within a few minutes, check your spam filter.
WARNING: Do not close the web page displaying your temporary password until you have completed the password reset process (see below). The temporary password link may only be opened once. If you accidentally close the page (or your browser or computer crashes), you will need to wait an hour before requesting a new password reset.
-
Click on the link on your e-mail. The link will take you to a web page containing your unique temporary password.
-
Logging in and resetting your password is a six-step process, detailed below. Once you have changed your password, your connection will eventually be terminated with
Permission denied (keyboard-interactive).orAccess denied (keyboard-interactive).. This is normal until you set up your second factor. Please ensure you read all six steps before proceeding as the output messages are easily misleading.You can choose your permanent password by following this six-step process (Note: there is a 2:00 minute idle timeout):
- Connect to the lander node:
- If you are using a Mac or Linux computer, connect to the lander node using the command:
ssh -Y <myusername>@lander02.nesi.org.nz, where<myusername>should be replaced with your Linux username, which you can find by logging in to the My NeSI site (not to be confused with your institutional login name). - If you are using a Windows computer, start a new session on your terminal (e.g., MobaXterm) and set
lander02.nesi.org.nzas remote host and your username as your username.
Note: When you first attempt to SSH into the lander node you may be met with a message warning you that the authenticity of the host cannot be established and asking if you wish to continue. You must type
yesand press theEnterkey. Typingyas a shorthand for “yes” is not sufficient. - If you are using a Mac or Linux computer, connect to the lander node using the command:
- When you first issue the SSH command to log in, you will be asked to enter a password. You should enter your temporary password.
- Once you have correctly entered your temporary password, you will be told that your temporary password has expired and asked to change it. First, the system will present a
Current Password:prompt. Enter your temporary password again. - Then, the system will ask you for your NEW password (
New password:). Our system will only accept a password if it complies with our password policy. - You will be asked to confirm your NEW password (
Retype new password:). - Once you have changed your password, either your session will be closed or you will be asked to enter a password again. Do not try to enter your new password or your temporary password as neither will work. Instead, press
Ctrl-C, or pressEnterrepeatedly until you get theAccess denied (keyboard-interactive).(orPermission denied (keyboard-interactive).) message.
Example of the process:
[user@host ~]# ssh -Y <username>@lander02.nesi.org.nz
New Zealand eScience Infrastructure (NeSI)HPC Lander node.

By using this computer system, you accept and agree to the NeSI Acceptable Use Policy.
To ensure compliance with legal requirements and to maintain cyber security standards, NeSI HPC systems are subject to ongoing monitoring, activity logging and auditing.
This monitoring and auditing service may be provided by third parties.
Such third parties can access information transmitted to, processed by and stored on NeSI's HPC systems.

Documentation:
Support:

Password: <temporary password>
Password expired. Change your password now.
Current Password: <temporary password>
New password: <NEW password>
Retype new password: <NEW password>
Password: <Enter or Ctrl+C>
Password: <Enter or Ctrl+C>
Access/Permission denied (keyboard-interactive).
[user@host ~]$
If you have to enter more than four passwords, something has probably gone wrong. You may have entered the wrong temporary password at one of the first two prompts, your new password may not satisfy our password criteria, or you may have mistyped your new password when confirming it. Alternatively, you may have accidentally pressed
EnterorCtrl-Cat the wrong time. If any of these situations has happened, you should exit the session and log in again. - Connect to the lander node:
-
You are now ready to move on to setting up two-factor authentication.
NeSI password policy
The NeSI password policy is as follows:
- Your password must be at least 12 characters long
- Your password must contain one or more characters from at least two of the following classes:
- upper case letters
- lower case letters
- numbers
- allowed special characters
Setting up two-factor authentication
Note: You can skip this section if you only ever log on to NeSI from inside the NIWA network or via NIWA’s VPN.
Connecting to the HPC from outside the NIWA network requires two-factor authentication at all times. The first factor is your password, while the second factor is a single-use keycode generated by the TOTP algorithm. We recommend using the Google Authenticator smartphone app to obtain your single-use keycodes. An alternative for NIWA staff members and other authorised persons is to use the NIWA VPN.
Before starting the two-factor authentication setup process, ensure that you have a smartphone with a working camera and install the free Google Authenticator app (or another compatible app) on your smartphone. The next step can only be done once.
WARNING: The QR code shown in later steps is a one-time password and can not be regenerated or displayed again. If you do not capture the QR code, or if you lose the device storing the token, you will be unable to access your account. If this happens, please file a ticket with the subject “Please reset my 2FA token”. After we validate your request, a member of the NeSI team will delete your authentication token so you can generate another for your account.
-
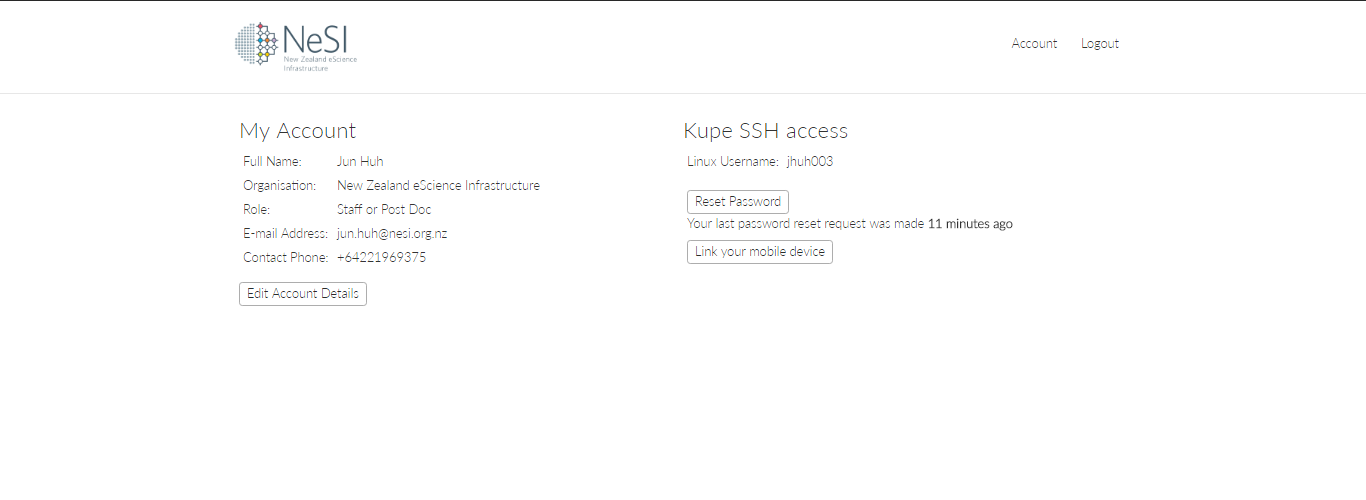
Go back to the My NeSI site and click on Accounts (or, alternatively, refresh the page if it is still open). You should see a new option to ‘Link your mobile device’.
-
Click the ‘Link your mobile device’ button. This button will start the process to prepare your second factor token so that you can log in to our lander node from outside of the NIWA network. After clicking on ‘Link your mobile device’ you will be prompted for the password which you have just set and instructed to prepare your mobile device before proceeding.

-
Click ‘Continue’ to display your QR code.

-
Open your Google Authenticator app (or other compatible app).
-
If using Google Authenticator:
- Click on the add button and select ‘Scan a barcode’.
- Point your camera at the QR code displayed on the screen. The NeSI token will be added to your phone.
If using a different authentication app, follow the instructions that are relevant to that app.
From now on, logging in to the lander node will prompt you for ‘First factor’ where you enter your previously set password, and ‘Second factor (optional)’ which is the six-digit code displayed on your Google Authenticator app. The six-digit code rotates every 30 seconds, and it can only be used once even if it has not expired yet. This means that you can only log in to the lander node once every 30 seconds. Also, even though the prompt says (optional), the second factor code is compulsory. We are working with the software developers to fix the message.
Note: You need to be an authorised member of an active project team to log in after you complete this step. If you believe you are an authorised project team member and and you are not able to log in using your credentials, please file a ticket with the subject “Problems logging in”. In your message, please tell us your user name, the project code for the NeSI project you think you belong to, and the name of the NeSI project owner.
Troubleshooting
Please file a ticket if you have any problems or questions. If you are having trouble logging in to the My NeSI site, resetting your password, obtaining a second-factor token, or logging in to the cluster, please let us know which of the following screens you see as this will enable us to address your issue more quickly. Thank you.
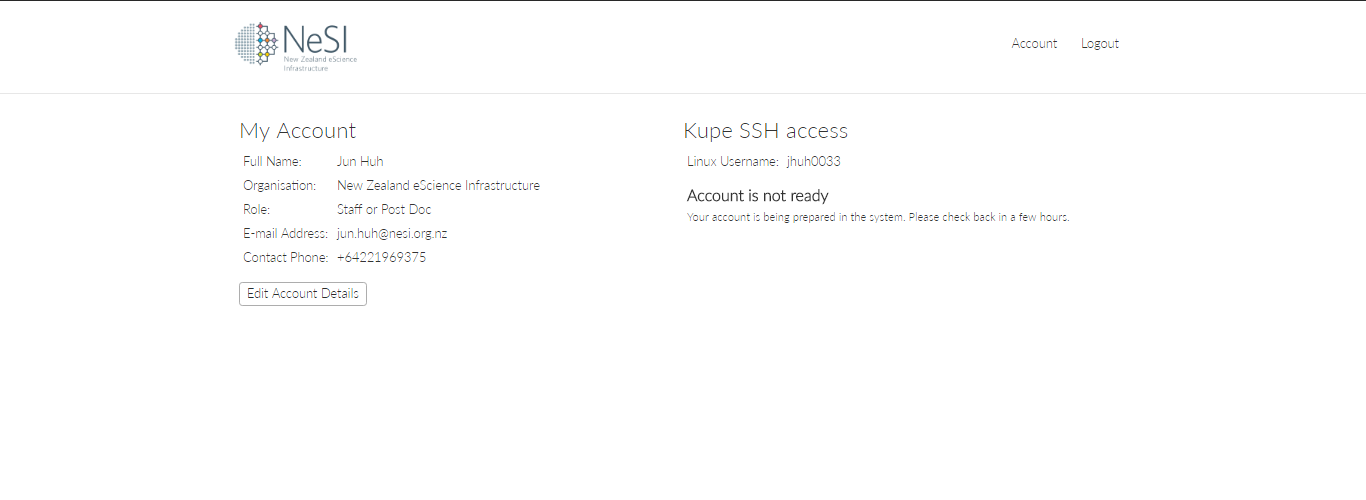
If your account is not ready, you may see:
If your project is not set up, you may see: